
Recientemente he instalado una cámara (dash-cam) en mi scooter. En este artículo describo cómo hacerlo. Antes de empezar, unas premisas:
- La dashcam es una cámara de grabación que sirve para grabar mientras conduces, como llevan algunos vehículos. Esto es especialmente útil en caso de accidente.
- Pese a que actualmente no está regulado el uso de cámaras, la última palabra la tiene el juez sobre la validez o no de la prueba. Cuanto menos puedes presentar la grabación e incluso en el caso de que la prueba no sea admitida, el juez ya sabrá que tienes la razón. Muchos jueces la admiten, y a las compañías de seguros les vale para evitar llegar a juicio, agilizando enormemente los trámites.
- Esta propuesta que expongo vale sólo para motos scooter, si bien las R podrían hacerlo con alguna adaptación o paso extra que simulase toma de mechero.
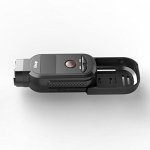
1. Cámara: Gitup F1
- Graba en resoluciones desde 720p (unos 45 min) hasta 4k (unos 20 min). El problema de los 720p es que las matrículas de los vehículos (importante) no se distinguen cuando vamos en movimiento. Si se conecta la cámara a la toma del mechero,no hay problemas de autonomía, y por tanto podremos grabar a 4k sin problemas todo el tiempo que se desee.
- Trae un cable para enchufar a la red eléctrica del vehículo, pero permite alimentarse también con cualquier cable miniusb (sólo que tienes que enchufarla a un sitio donde haya un usb en el otro lado, claro, como la toma de mechero de la que ahora hablaremos).
- La cámara tiene la opción de grabar en bucle, esto es, ir grabando continuamente y cuando se quede sin memoria, borra lo más antiguo y continua. Así no requiere mantenimiento ninguno.
- También el que la cámara como su soporte sean de color negro ayuda tanto a ser discretos y que no os miren por la calle, como a que no os la roben tan fácilmente como si fuese de un color llamativo cuando os la olvidemos puesta en lugares públicos (que ocurre).

– Coste: 69.90€ en Amazon.
2. Soporte
- Se pueden utilizar la práctica totalidad de los soportes compatibles con GoPro.
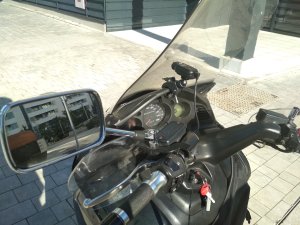
- En este caso, elegí el siguiente pues permite amarrarse a la moto sin necesidad de ventosa (imposible al carecer de superficies planas la moto), ni pegamentos o adhesivos, actuando el soporte con apenas una pinza atornillable (que no hace falta atornillar directamente al salpicadero, dejando éste intacto).
- Gira 360º y permite poner la cámara en horizontal detrás de la cúpula, encima del salpicadero.

- Coste: 5.89€ en Aliexpress
3. Tarjeta de memoria
- La cámara admite tarjetas Microsd de tamaño máximo 128GB, aunque es probable que admita más.
- Es recomendable que sea de buena calidad pues el uso que se va a hacer de la tarjeta es intensivo: se van a realizar escrituras (grabaciones) en vez de las habituales lecturas que desgastan menos a las tarjetas.
- También el grabar el vídeo en 4K implica que la tarjeta ha de tener buen rendimiento para que no se produzcan cuellos de botella y se descarten automáticamente fragmentos de la grabación.
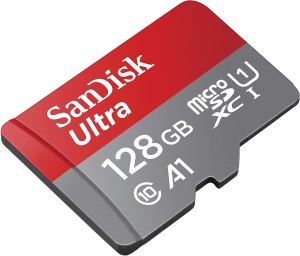
- Coste: 17.99€ en Amazon
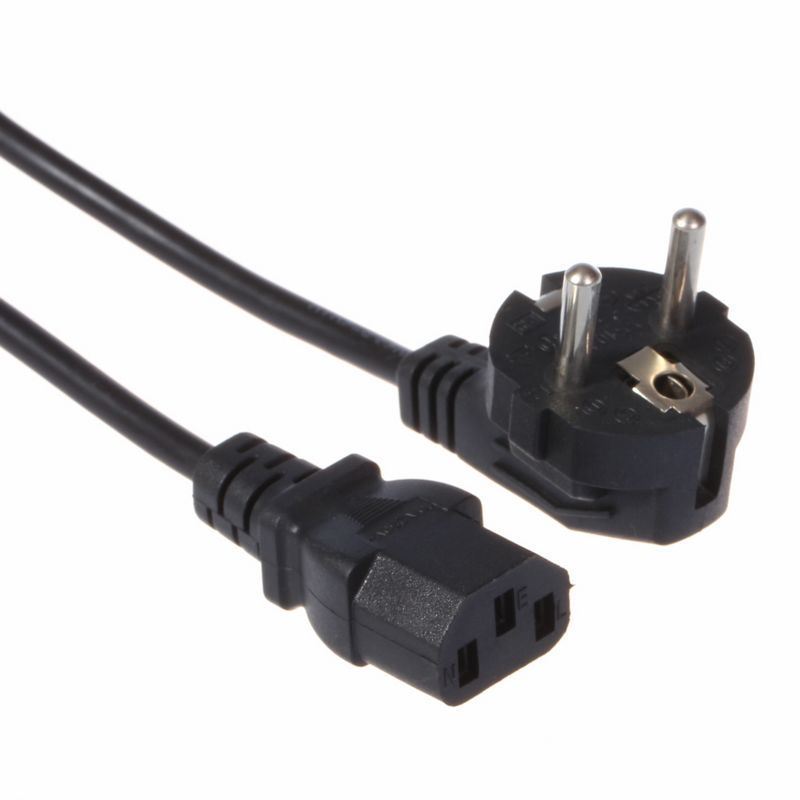
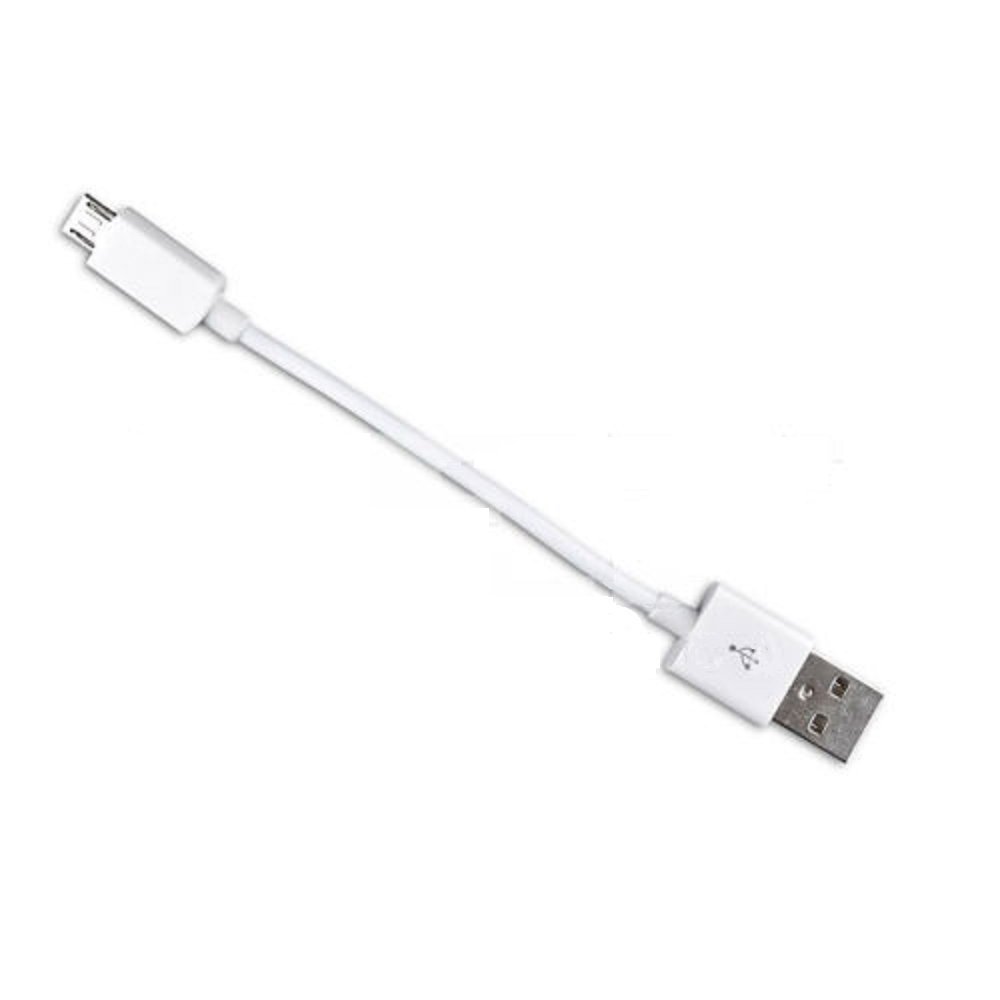
4. Cable
- Para conectar la cámara al mechero de la moto y por tanto garantizar su autonomía, es necesario un cable miniusb. Es raro que en 2019 todavía se vendan productos que utilizan miniusb en vez de microusb, y ésta es la única pega que le veo a la cámara (que tampoco es problema en definitiva).
- La cámara viene con un cable miniusb para enchufar a la instalación eléctrico del vehículo, pero si no se tienen conocimientos técnicos se puede enchufar a otro cable miniusb que vaya conectado a la toma del mechero, como se ha hecho en este tutorial.

- En este sentido se recomienda utilizar un cable miniusb de 1m. Más longitud es incómodo pues implica guardar el cable sobrante en la guantera. Algo menos de longitud es posible.
- Se recomienda de color negro por estética, para disimularlo, o incluso si es posible esconderlo por debajo del salpicadero y sacarlo por las tomas de aire.
- Sobre el ángulo, es conveniente que sea acodado para que ocupe menos.

- Coste: 1.73 + 13.92€ en Ebay (15.65€).
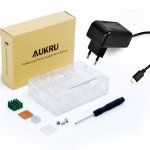
5. Toma de mechero
- Como ya se ha comentado, la cámara puede funcionar con su propia batería pero con una autonomía bastante limitada, o enchufada a la toma de mechero de la moto, ofreciendo tiempo ilimitado de grabación. Además, no sería necesario tener que cargarla cada día.
- Para ello, se recomienda un adaptador de mechero que tenga suficiente amperaje (2.4a). Además, si dispone de dos tomas para poder utilizar la segunda en otros menesteres (como cargar el móvil mientras se viaja), se optimiza la solución.
- La solución elegida es de Aukey con buenas características y valoraciones en Amazon:

- Coste: 9.99€ en Amazon.
RESULTADOS


Coste total: 103.77€
USO
- A la hora de grabar, con tan solo enchufarla al cable de la moto y dar el contacto, se enciende la cámara. Para que grabe sólo hay que darle al botón central, el redondo. También hay una función -pendiente de probar- para que empiece a grabar nada más detectar el contacto de la moto.
- En caso de accidente, se pueden ver los vídeos al instante a través de la app del móvil. Éste se conecta por una wifi que crea la cámara al móvil, y las puedes ver con el policía de turno. Y la tarjeta de memoria siempre con vosotros, lo pida la otra parte o el policía, no debéis entregarla sin haber hecho copia antes de los vídeos.


